Maintaining a clean fuel tank is essential for the longevity and performance of any vehicle or machinery that relies on fuel. Over time, contaminants such as rust, sludge, and debris can accumulate in the tank, leading to fuel inefficiency, blockages, and damage to the fuel system. Regular fuel tank cleaning ensures that your engine runs smoothly and prevents costly repairs in the long run.
Why Do Fuel Tanks Get Dirty?
Fuel tanks, especially those made of metal, are susceptible to rust and corrosion. Condensation forms inside the tank, which can lead to rust, particularly in older vehicles. Additionally, sediment and particles from fuel can accumulate at the bottom of the tank. These contaminants mix with fuel and can clog the fuel filter, injectors, and carburetors. Without proper fuel tank cleaning, the debris can cause significant damage to the engine.
Signs That Your Fuel Tank Needs Cleaning
Knowing when to clean your fuel tank is crucial for avoiding breakdowns and maintaining performance. Here are a few signs that indicate it’s time for a thorough fuel tank cleaning:
1. Reduced Engine Performance
If your engine is not running as smoothly as it should, or if you notice sputtering or power loss, it could be due to contaminants in the fuel. Dirty fuel can clog up the system and reduce fuel efficiency, leading to poor engine performance.
2. Fuel Odor
A strong smell of fuel, especially when the vehicle is not in use, can be a sign that the fuel tank has accumulated sludge or debris. This may indicate that fuel tank cleaning is required to eliminate the contaminants causing the smell.
3. Clogged Fuel Filters
Fuel filters are designed to catch contaminants before they enter the engine. If you need to replace fuel filters frequently, it could be because your fuel tank is full of debris. In this case, fuel tank cleaning can help solve the issue by removing the root cause of the clogging.
How Often Should You Clean Your Fuel Tank?
There is no universal rule for how often to clean a fuel tank, as the frequency depends on factors such as fuel type, usage, and the age of the vehicle or equipment. However, a good rule of thumb is to perform fuel tank cleaning every 1-2 years, or whenever you notice any of the symptoms mentioned above.
For vehicles used in demanding environments or with fuel that contains high levels of ethanol, more frequent cleanings may be necessary. Diesel engines, for example, are more prone to fuel contamination, and regular fuel tank cleaning can help prevent costly repairs.
Step-by-Step Guide to Fuel Tank Cleaning
Cleaning a fuel tank can be a daunting task, but with the right tools and knowledge, it can be done efficiently. Below is a step-by-step guide to performing a thorough fuel tank cleaning:
1. Gather the Necessary Materials
Before you begin, gather the following materials:
- Fuel siphon pump
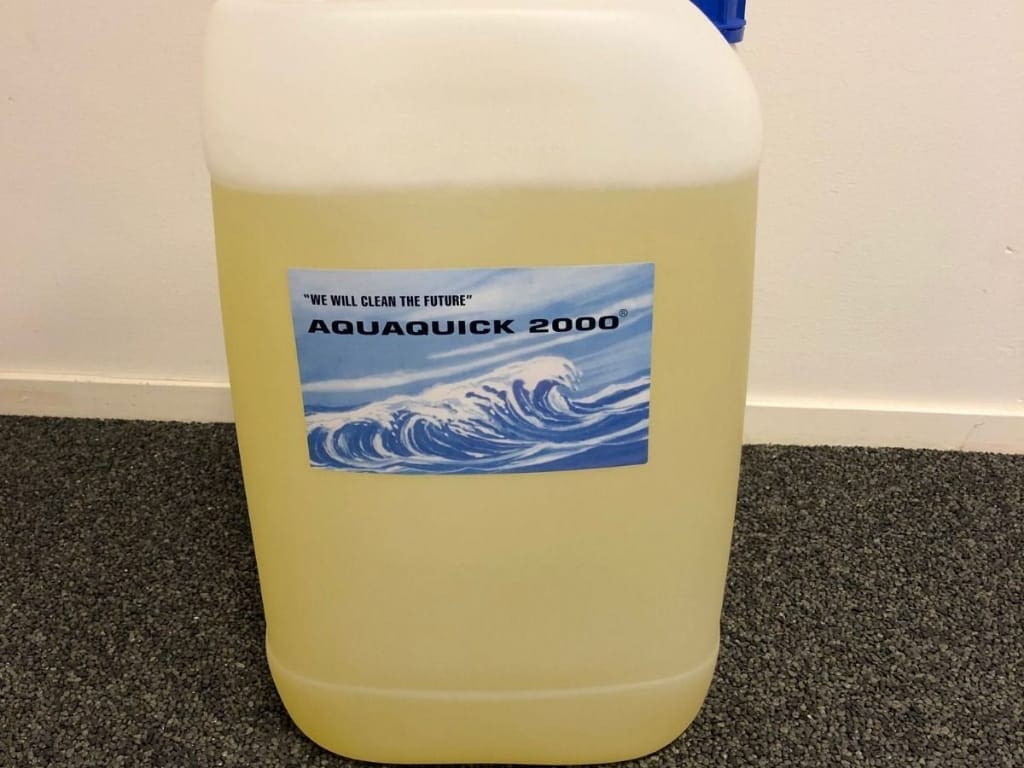
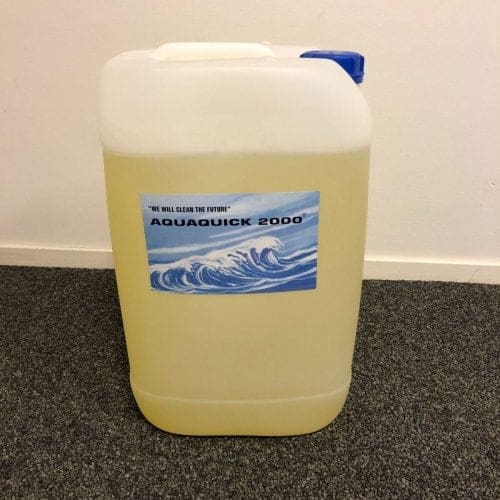
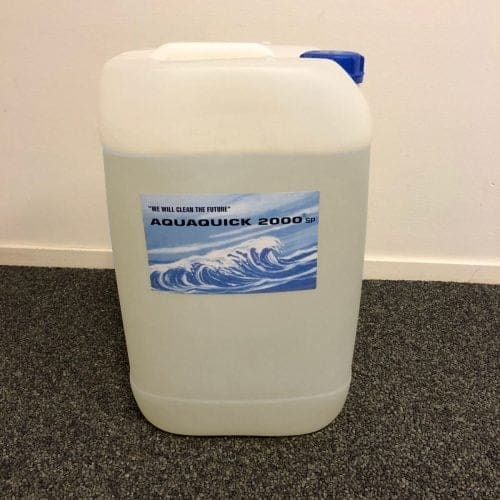
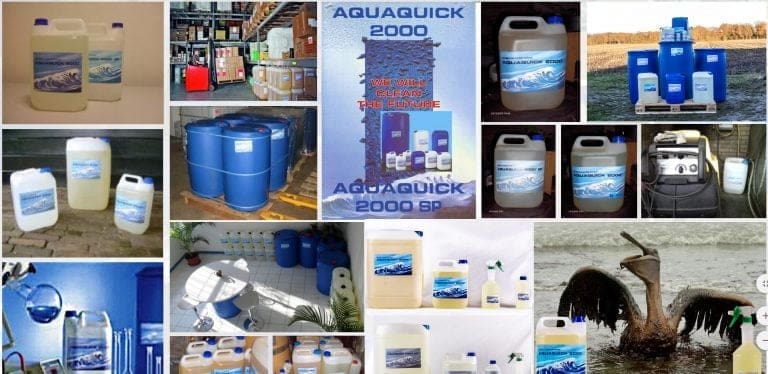
- Cleaning solution (such as AQUAQUICK 2000, which is designed for safe and effective cleaning)
- Clean cloths or rags
- Safety goggles and gloves
- A large container for draining the fuel
- A brush or sponge for scrubbing
2. Drain the Fuel
First, you’ll need to drain the fuel from the tank. Use a fuel siphon pump to transfer the fuel into a large container. Ensure that you’re doing this in a well-ventilated area to avoid inhaling fumes.
3. Remove the Fuel Tank
In most cases, cleaning the fuel tank effectively requires removing it from the vehicle. Consult your vehicle’s manual to learn how to safely detach the fuel tank. Be sure to disconnect the battery before starting to prevent any electrical hazards.
4. Clean the Interior of the Tank
Once the tank is removed, pour a small amount of your cleaning solution inside. AQUAQUICK 2000 is a great option, as it effectively breaks down sludge and contaminants without harming the tank’s material. Use a sponge or brush to scrub the interior, paying special attention to areas with visible rust or debris.
5. Rinse and Dry
After scrubbing the tank, rinse it thoroughly with clean water to remove any residue from the cleaning solution. Make sure all contaminants are flushed out. Once cleaned, dry the tank completely using a clean cloth or by allowing it to air dry.
6. Reinstall the Fuel Tank
After the tank has dried, carefully reinstall it into the vehicle. Make sure all connections are secure and that the battery is reconnected. If you removed the fuel filter during the process, consider replacing it with a new one before refilling the tank.
7. Refill the Tank
Once the tank is reinstalled, refill it with fresh fuel. Avoid using fuel that has been stored for long periods, as it can contain contaminants. Also, consider adding a fuel stabilizer to keep your fuel clean and prevent future buildup.
Professional Fuel 水箱清洗 vs. DIY Cleaning
While fuel tank cleaning can be done at home, some situations may require professional assistance. For example, if the tank is heavily corroded or if you’re dealing with hazardous materials like diesel, it may be safer to hire a professional cleaning service.
Advantages of DIY Fuel Tank Cleaning
- Cost-effective: You save on labor costs.
- Convenience: You can perform the cleaning at your own pace.
- Learn valuable skills: Gaining hands-on experience with your vehicle’s fuel system can be beneficial.
Advantages of Professional Cleaning
- Specialized tools: Professionals have access to industrial-grade equipment and cleaners that can provide a deeper clean.
- Expertise: A professional can identify potential problems in the tank or fuel system that may not be visible to the untrained eye.
- 安全: If dealing with hazardous materials or damaged fuel tanks, professional services can safely handle the situation.
Preventive Measures for Fuel Tank Maintenance
Regular maintenance can help you avoid frequent fuel tank cleaning and extend the lifespan of your vehicle or equipment. Here are a few tips to keep your tank in good shape:
1. Use Quality Fuel
Always use high-quality fuel from reputable sources. Low-grade fuel often contains contaminants that can build up in the tank over time, leading to the need for frequent fuel tank cleaning.
2. Keep Your Tank Full
Whenever possible, try to keep your fuel tank full, especially if you store the vehicle for extended periods. A full tank reduces the amount of air inside, preventing condensation and the formation of rust.
3. Add Fuel Stabilizers
Fuel stabilizers, like AQUAQUICK 2000, can be added to your fuel tank to prevent the buildup of sludge and other contaminants. These products help keep fuel clean and reduce the need for frequent fuel tank cleaning.
Environmental Benefits of Regular Fuel Tank Cleaning
Regular fuel tank cleaning isn’t just good for your vehicle – it’s also beneficial for the environment. A clean tank ensures that your engine runs more efficiently, reducing fuel consumption and lowering emissions. Additionally, properly disposing of contaminants and sludge from the fuel tank prevents hazardous materials from entering the environment.
By using eco-friendly cleaning products like AQUAQUICK 2000, you can ensure that your fuel tank cleaning process is both effective and environmentally responsible. AQUAQUICK 2000 is biodegradable and non-toxic, making it a safe choice for cleaning fuel tanks without harming the environment.
结论
Maintaining a clean fuel tank is essential for the performance and longevity of any fuel-powered vehicle or machinery. Regular fuel tank cleaning not only improves engine performance but also helps prevent costly repairs down the line. Whether you choose to clean your tank yourself or hire a professional, the key is consistency and using the right cleaning products.
By following the steps outlined in this guide and incorporating preventive measures, you can ensure that your fuel tank stays in optimal condition. Remember to use high-quality products like AQUAQUICK 2000 to effectively clean and maintain your tank without harming the environment. Regular cleaning will not only save you money but also reduce your carbon footprint, making it a win-win for both your vehicle and the planet.