


Introduction:
A clean kitchen sink drain is often overlooked but plays a crucial role in maintaining a healthy and functional kitchen environment. The importance of keeping this vital part of your kitchen clean cannot be overstated. Not only does it contribute to overall hygiene, but it also helps prevent plumbing issues that can lead to costly repairs down the line.
Importance of Maintaining a Clean Kitchen Sink Drain:
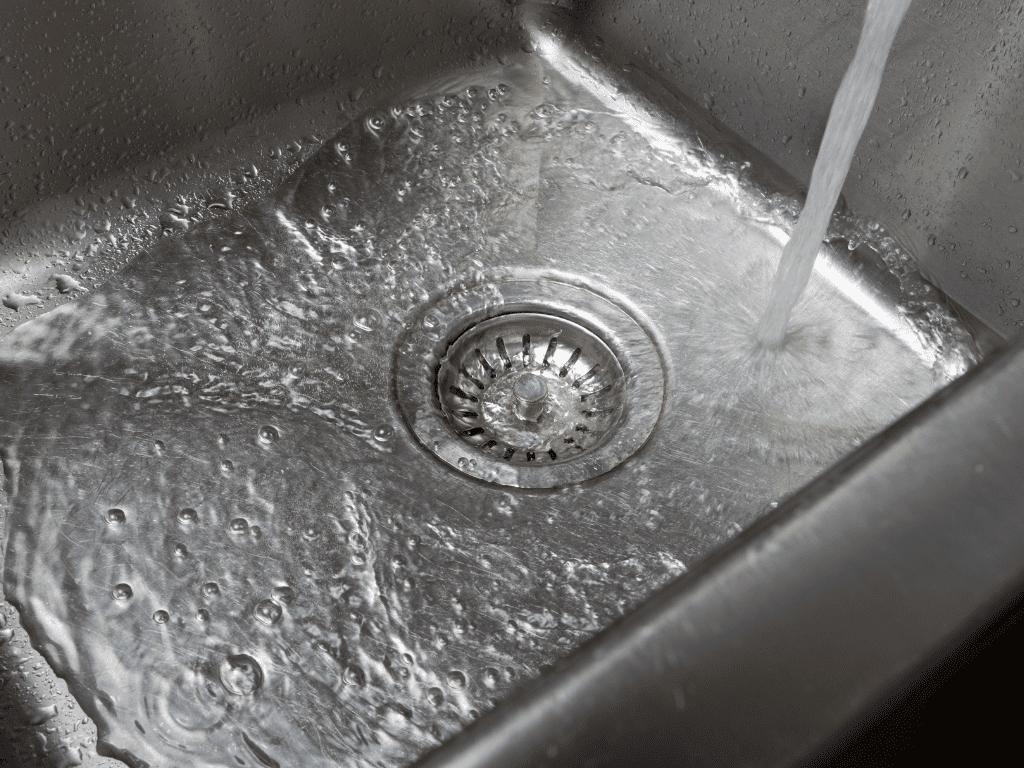
A kitchen sink drain serves as the gateway for water, food particles, grease, and other debris to exit your sink and plumbing system. Over time, these substances can accumulate, leading to clogs, foul odors, and even bacterial growth. A clogged drain not only disrupts the flow of water but also creates a breeding ground for harmful bacteria, posing health risks to you and your family.
Moreover, a neglected kitchen sink drain can cause water backups, leaks, and damage to your plumbing system, resulting in costly repairs and inconvenience. Therefore, regular maintenance and cleaning of your kitchen sink drain are essential to ensure its proper function and longevity.
Overview of Common Issues like Clogs and Odors:
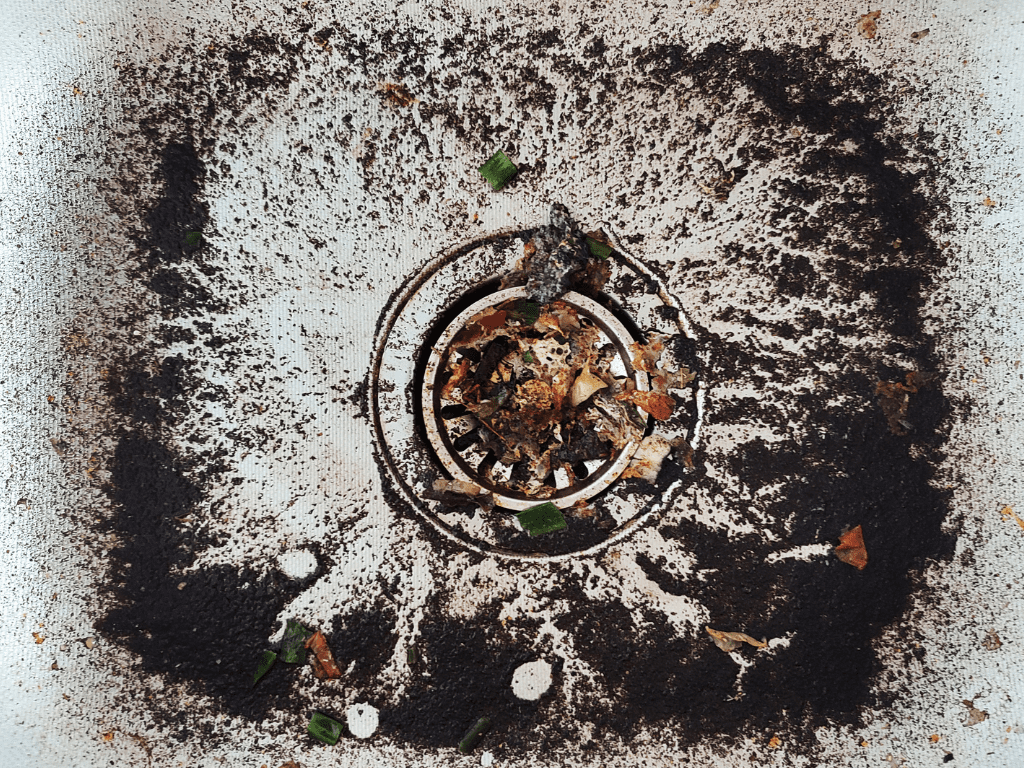
Clogs are one of the most common issues associated with kitchen sink drains. They occur when food particles, grease, soap scum, and other debris accumulate and block the flow of water through the drainpipe. This can lead to slow drainage, standing water in the sink, and unpleasant odors emanating from the drain.
Odors in the kitchen sink drain are often caused by the buildup of organic matter, grease, and food particles that decompose over time. These odors can be particularly unpleasant and may spread throughout your kitchen if left unchecked.
Understanding How to Clean Kitchen Sink Drain
Now, let’s delve deeper into why maintaining a clean kitchen sink drain is essential for both hygiene and preventing plumbing issues. We’ll explore the significance of regular maintenance and highlight the consequences of neglecting this crucial aspect of kitchen cleanliness.
10 Effective Methods for Cleaning Kitchen Sink Drain:
Maintaining a clean kitchen sink drain is essential for the proper functioning of your plumbing system and to ensure a hygienic environment in your kitchen. Let’s explore some effective methods for cleaning your kitchen sink drain:
1. Boiling Water Flush
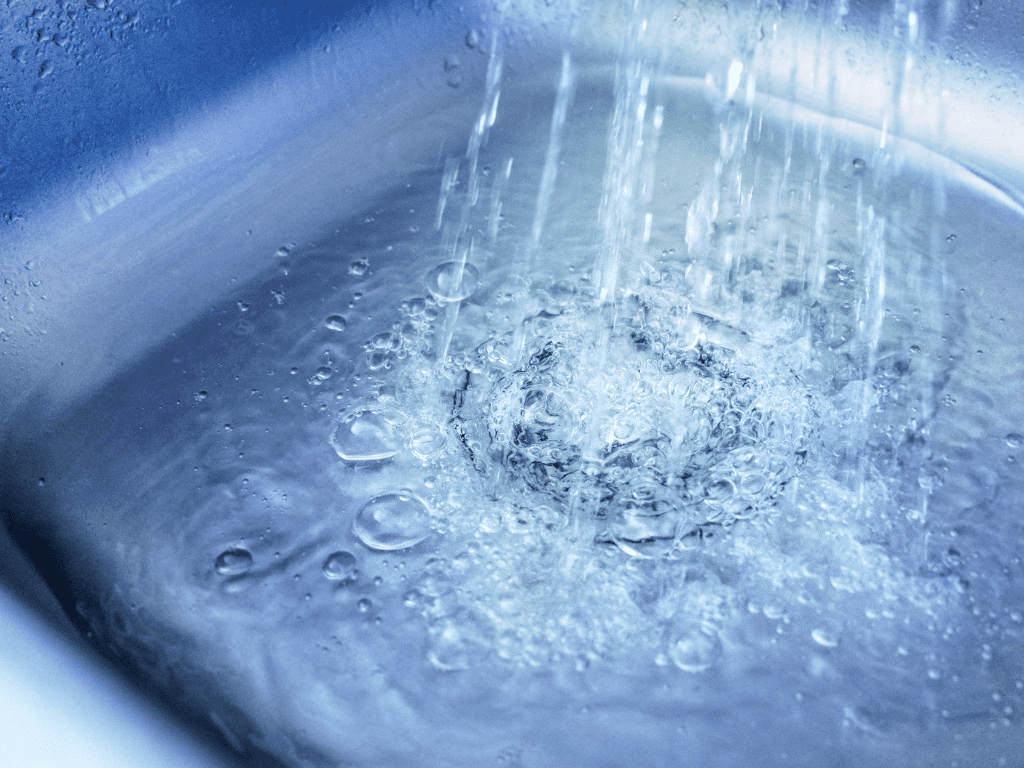
Pouring boiling water down the kitchen sink drain is one of the simplest and most effective methods for removing grease and debris buildup. Here’s why it works and how to do it safely:
Explanation:
- Boiling water is an excellent solvent, capable of breaking down and dissolving grease, oil, and other organic matter that may be clogging your drain. When poured down the drain, the hot water melts away these substances, allowing them to flow freely through the pipes.
Safety Precautions:
- While boiling water is an effective drain cleaner, it can cause damage to certain types of pipes, particularly PVC pipes. To prevent damage, always use caution when pouring boiling water down the drain. Avoid using this method if you have PVC pipes or if you’re uncertain about the material of your pipes.
Frequency and Timing Recommendations:
- For regular maintenance, consider flushing your drain with boiling water once a week to prevent the buildup of grease and debris. However, if you’re dealing with a stubborn clog, you may need to repeat the process several times or use additional methods in conjunction with boiling water.
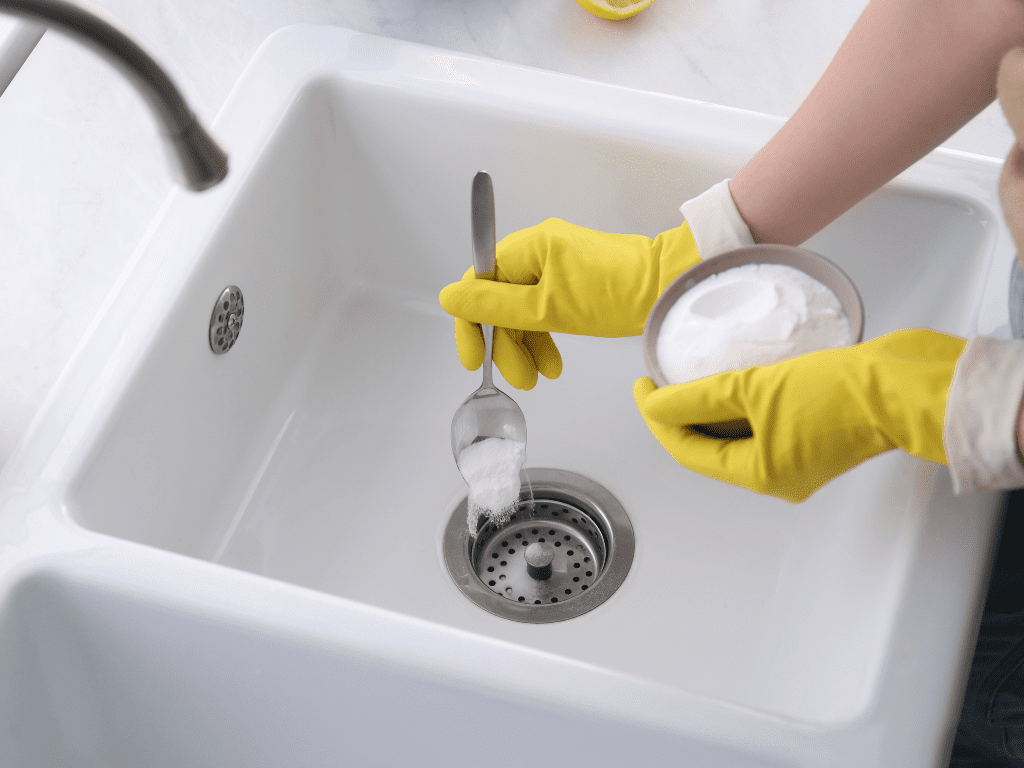
2. Baking Soda and Vinegar Solution
A combination of baking soda and vinegar creates a natural and effective solution for cleaning kitchen sink drains. Here’s how to create and use this solution:
Step-by-Step Guide:
- Start by pouring about half a cup of baking soda down the drain.
- Follow it up with one cup of vinegar. You’ll notice fizzing and bubbling, which indicates that the chemical reaction is taking place.
- Allow the mixture to sit in the drain for about 15-30 minutes. During this time, the baking soda and vinegar will break down grease and organic matter.
- After the designated time, flush the drain with hot water to rinse away any loosened debris and residue.
Chemical Reaction Breakdown:
- Baking soda (sodium bicarbonate) reacts with vinegar (acetic acid) to produce carbon dioxide gas, which creates bubbles and foam. This foaming action helps to dislodge and break down stubborn deposits in the drain.
Benefits of Using Natural Ingredients:
- One of the main advantages of using baking soda and vinegar for drain cleaning is that they are natural and environmentally friendly. Unlike harsh chemical cleaners, these household ingredients are safe to use and pose no risk to your plumbing or the environment.
3. Commercial Drain Cleaners
Commercial drain cleaners offer a convenient solution for clearing stubborn clogs and keeping your kitchen sink drain clean. Here’s what you need to know about using them effectively:
Overview of Different Types:
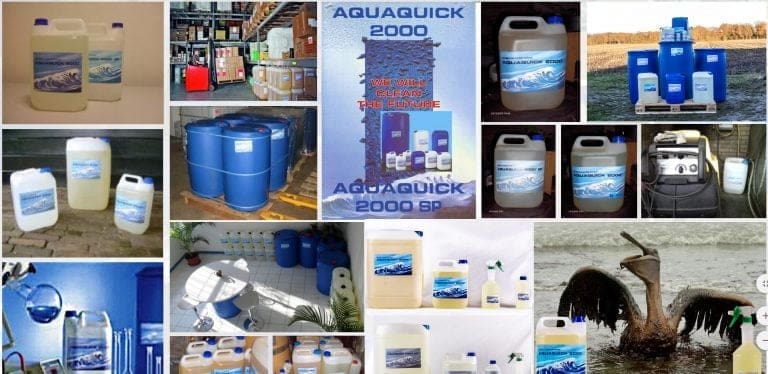
- Commercial drain cleaners come in various forms, including liquid, gel, and powder formulations. Some are chemical-based, while others are enzyme-based like AQUAQUICK 2000. Chemical cleaners contain powerful solvents that break down grease and organic matter, while enzyme cleaners use natural enzymes to digest and eliminate clogs.
Instructions for Safe and Effective Use:
- Follow the manufacturer’s instructions carefully when using commercial drain cleaners. Typically, you’ll need to pour the recommended amount of cleaner down the drain, wait for a specified period, and then flush the drain with hot water to rinse away any loosened debris.
Cautionary Notes:
- While commercial drain cleaners can be effective, it’s essential to use them with caution, as they contain harsh chemicals that can damage pipes and pose health risks if not handled properly. Avoid mixing different types of drain cleaners, as this can produce toxic fumes. If you have PVC pipes or a septic system, make sure to choose a cleaner that is safe for use with these materials.
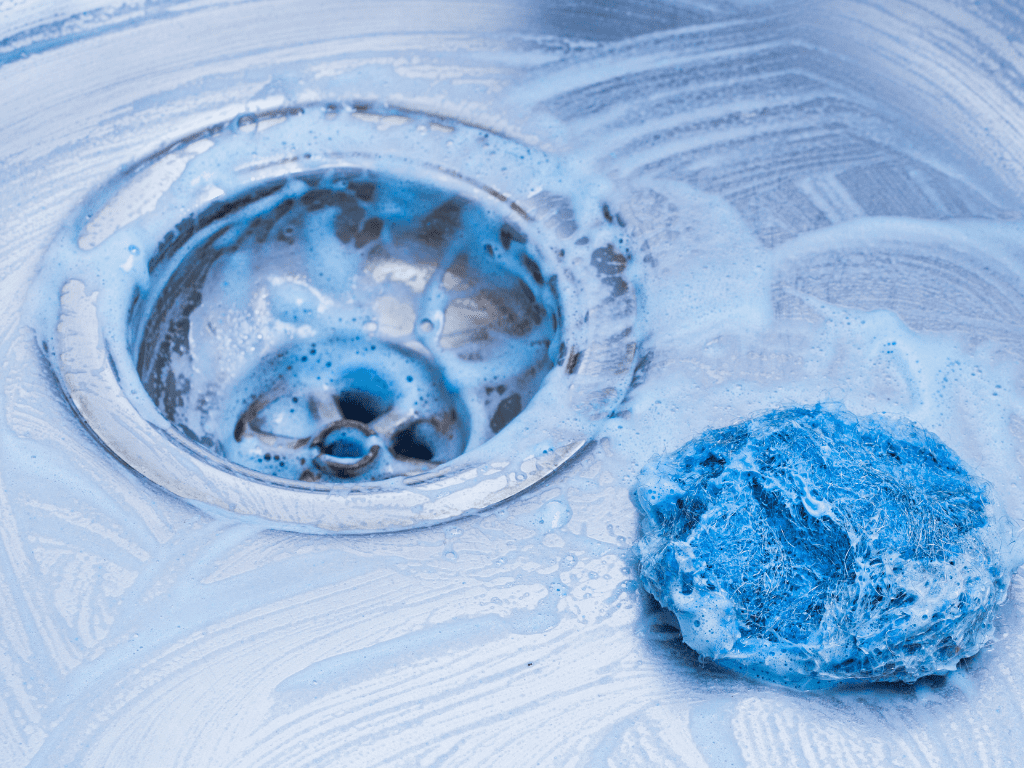
4. Homemade Drain Cleaning Solutions
DIY drain cleaners made from household items like salt, lemon, and baking soda can be just as effective as commercial products, with the added benefit of being environmentally friendly and cost-effective. Here are some recipes to try:
Recipes:
- Salt and hot water: Mix half a cup of salt with boiling water and pour it down the drain to dissolve grease and debris.
- Lemon and baking soda: Cut a lemon in half, sprinkle baking soda on the cut surface, and use it to scrub the drain. The acidity of the lemon helps to break down grease, while the baking soda provides abrasive action.
Environmental Benefits:
- Homemade drain cleaners are made from natural ingredients that are safe for your plumbing and the environment. By using household items like salt, lemon, and baking soda, you can avoid harsh chemicals and reduce your environmental impact.
Cost-Effectiveness:
- Homemade drain cleaners are typically more affordable than commercial products and can be just as effective in removing clogs and odors from your kitchen sink drain. Plus, you likely already have these items in your pantry, making them readily accessible whenever you need them.
5. Plunger Technique
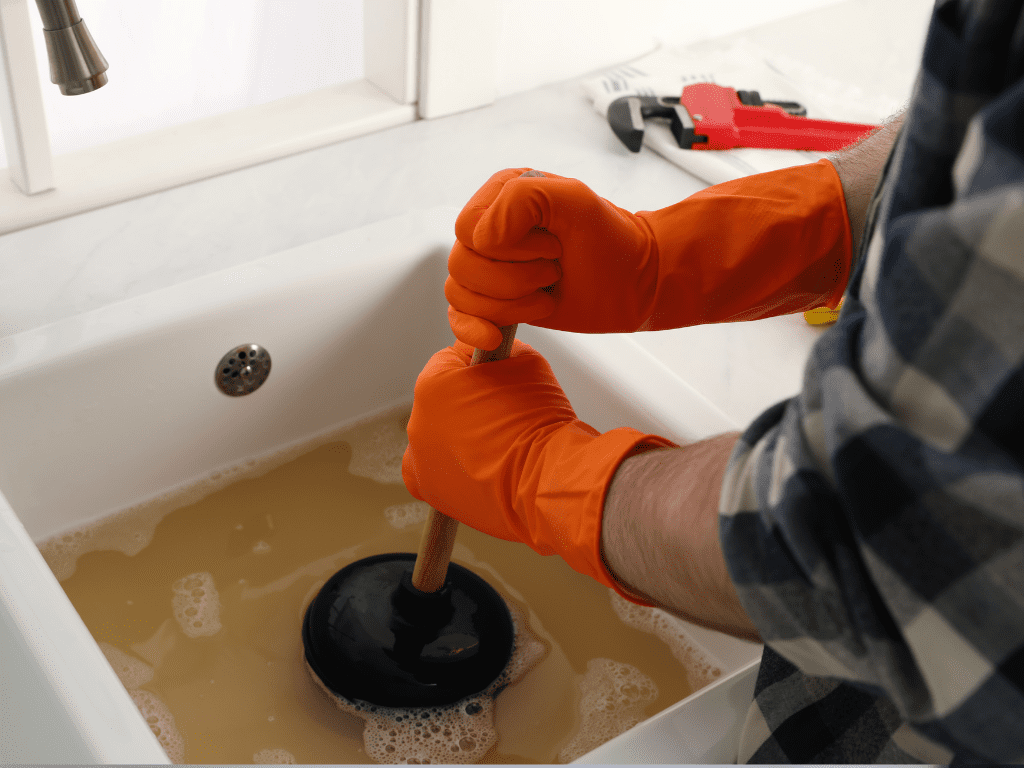
A plunger is a simple yet effective tool for clearing clogs in your kitchen sink drain. Follow these step-by-step instructions to use a plunger effectively:
1. Prepare the Plunger:
Ensure the plunger cup is clean and free of debris. It should be large enough to fully cover the drain opening.
2. Fill the Sink:
Fill the sink partially with water to create a seal around the plunger cup. Make sure there is enough water to cover the plunger cup.
3. Position the Plunger:
Place the plunger over the drain opening, ensuring a tight seal between the plunger cup and the sink surface.
4. Apply Pressure:
With both hands, push and pull the plunger vigorously up and down, maintaining a tight seal against the sink surface. The pressure created by the plunging action should dislodge the clog and allow water to flow freely down the drain.
5. Repeat if Necessary:
If the clog persists, continue plunging for several minutes, or until the water begins to drain freely. You may need to repeat the process multiple times to fully clear the clog.
Tips for Success:
- Create a Proper Seal: For maximum effectiveness, ensure the plunger forms a tight seal around the drain opening. This will prevent air from escaping and help generate the necessary pressure to dislodge the clog.
- Apply Firm Pressure: Use your body weight to apply downward pressure on the plunger, rather than relying solely on arm strength. This will increase the force exerted on the clog, improving the chances of success.
- Be Patient: Clearing a stubborn clog with a plunger may take time and persistence. Don’t be discouraged if the clog doesn’t clear immediately; continue plunging until the water drains freely.
Precautions:
- Avoid Splashing: Plunging vigorously can cause water to splash out of the sink, potentially causing a mess. To minimize splashing, use controlled, steady movements and keep a towel handy to clean up any spills.
- Protect Yourself: Wear gloves and eye protection when using a plunger to prevent contact with dirty water and debris. Additionally, be mindful of your surroundings to avoid injury from slipping or falling.
6. Plumbing Snake or Auger
A plumbing snake, also known as an auger, is a flexible tool designed to clear stubborn clogs that cannot be removed with a plunger.
Steps on how to use a plumbing snake effectively:
- Select the Right Snake: Choose a plumbing snake with a length and thickness appropriate for your drain size and type of clog. For kitchen sink drains, a handheld snake with a length of 15-25 feet is usually sufficient.
- Insert the Snake: Insert the tip of the snake into the drain opening and feed it slowly into the pipe. Use gentle pressure to navigate around bends and obstructions in the pipe.
- Turn the Handle: As you feed the snake into the drain, slowly rotate the handle clockwise. This will help the snake navigate through the pipe and break up the clog.
- Apply Pressure: Once the snake encounters resistance, continue feeding it into the drain while applying steady pressure. The snake’s auger head will help to break apart the clog and clear the obstruction.
- Withdraw the Snake: Once the clog has been cleared, slowly withdraw the snake from the drain, rotating the handle counterclockwise as you go. Be careful not to force the snake, as this can cause damage to the pipes.
Recommendations for Success:
- Choose the Right Auger: For kitchen sink drains, a handheld auger with a flexible cable and a rotating auger head is typically the most effective option. Avoid using motorized augers, as they may cause damage to the pipes.
- Feed the Snake Carefully: Take care when inserting the snake into the drain to avoid causing damage to the pipes or pushing the clog further into the plumbing system.
- Use Protective Gear: Wear gloves and eye protection when using a plumbing snake to protect yourself from contact with dirty water and debris.
Recommendations for Purchasing or Renting Equipment:
- Purchase Options: Plumbing snakes and augers are available for purchase at hardware stores, home improvement centers, and online retailers. Choose a high-quality snake made from durable materials that will withstand repeated use.
- Renting Options: If you prefer not to purchase a plumbing snake, many hardware stores and equipment rental shops offer rental services for plumbing equipment. Renting can be a cost-effective option for occasional use.
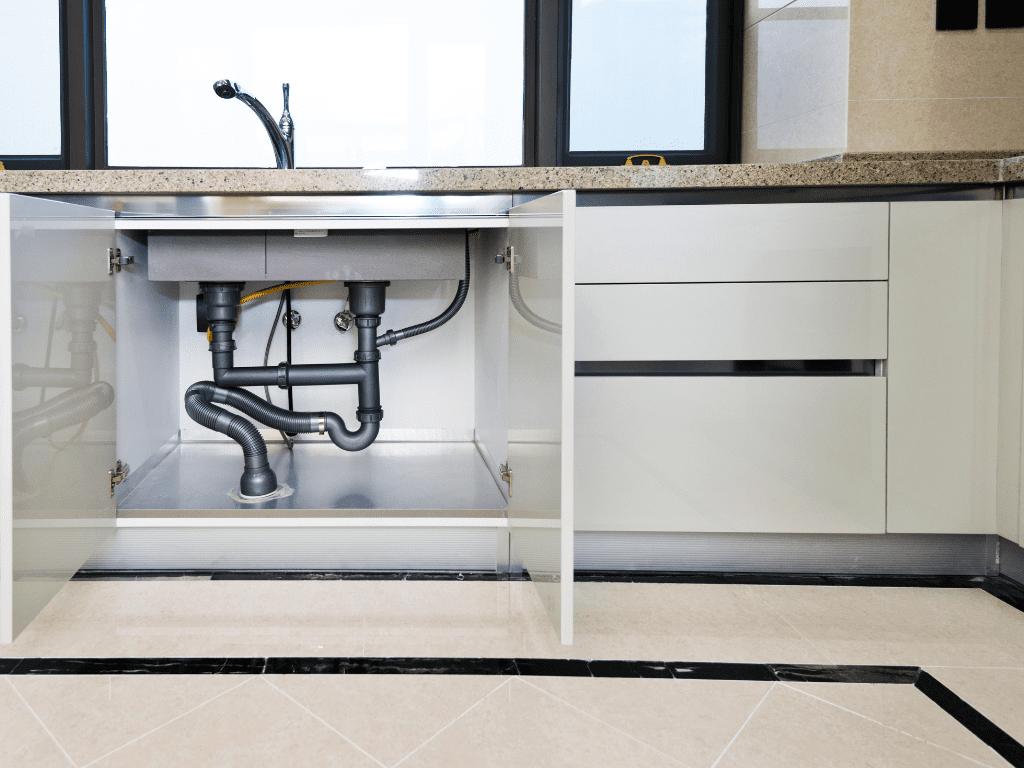
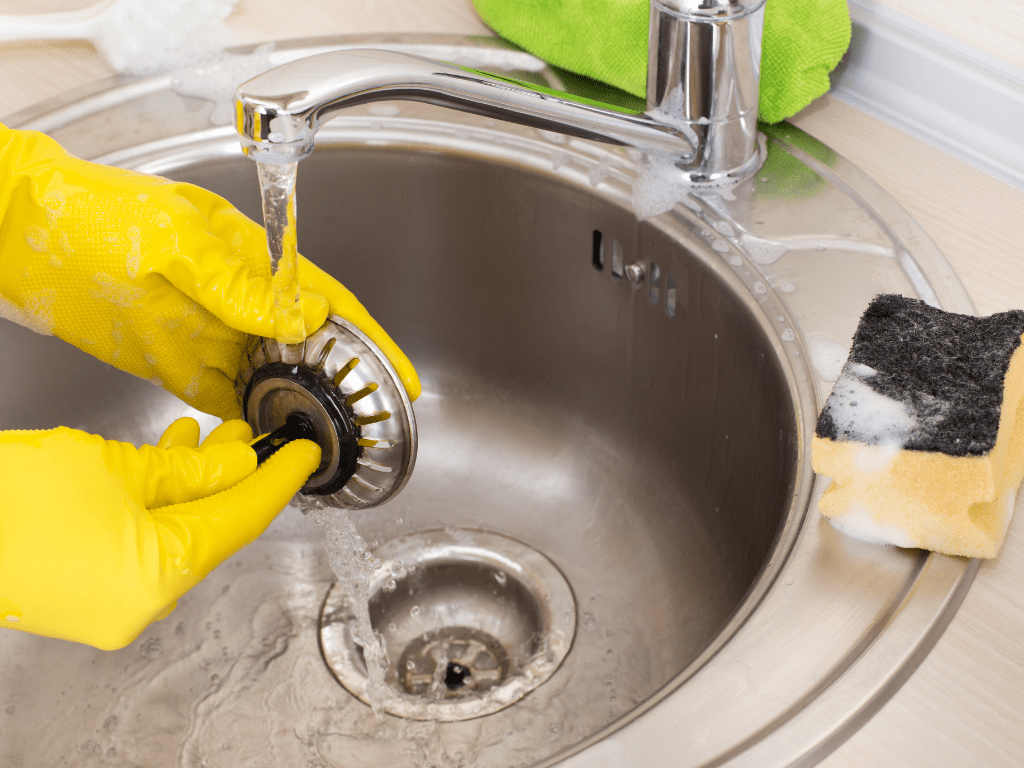
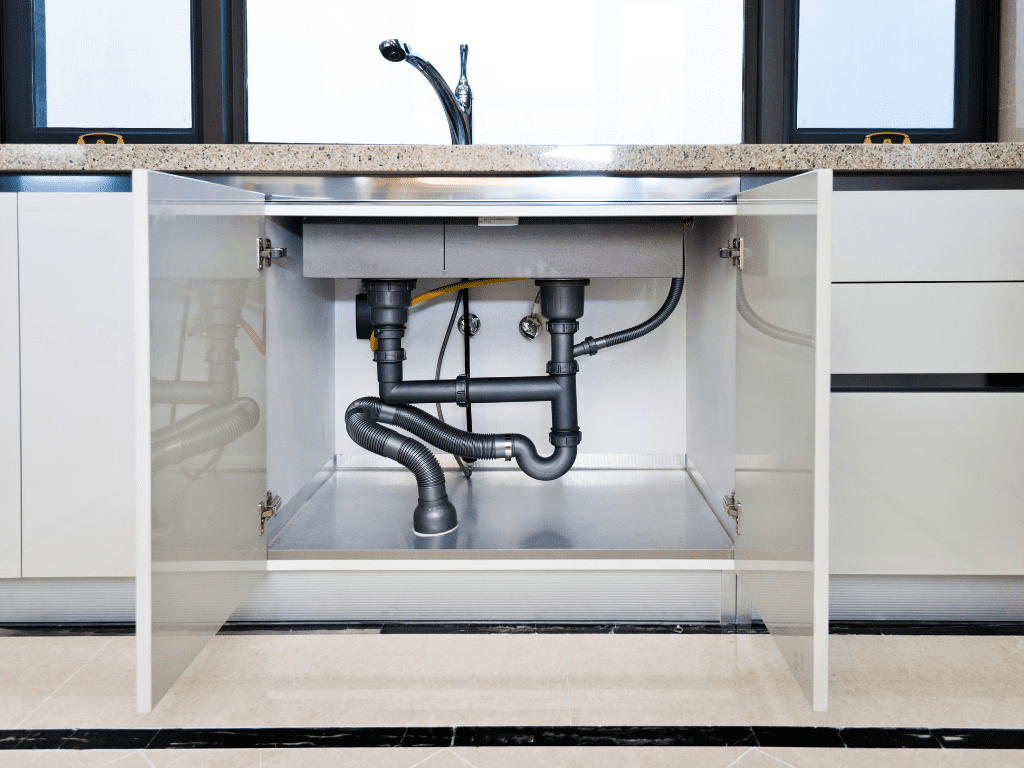
7. Removing and Cleaning P-Trap

The P-trap, located beneath the kitchen sink, is a curved section of pipe designed to trap debris and prevent sewer gases from entering your home. Follow these steps to safely remove and clean the P-trap:
Gather Supplies:
Before starting, gather the necessary supplies, including a bucket, adjustable wrench, and old towels or rags to catch any spills.
Turn Off Water Supply:
Locate the shut-off valves beneath the sink and turn them clockwise to shut off the water supply. Alternatively, if there are no shut-off valves, turn off the main water supply to your home.
Place Bucket Underneath:
Position a bucket or basin beneath the P-trap to catch any water or debris that may spill out during the removal process.
Loosen Slip Nuts:
Using an adjustable wrench, loosen the slip nuts on both ends of the P-trap. Carefully disconnect the P-trap from the tailpiece coming from the sink and the waste pipe leading to the main drain.
Remove P-Trap:
Once the slip nuts are loosened, carefully remove the P-trap from the pipes. Be prepared for water and debris to spill out into the bucket.
Clean P-Trap:
Inspect the P-trap for any signs of debris or buildup. Use a bottle brush or pipe cleaner to remove any residue from the interior of the trap. Rinse the trap thoroughly with water to remove any remaining debris.
Inspect Pipes:
While the P-trap is removed, take the opportunity to inspect the pipes for any signs of damage or corrosion. Replace any damaged or worn components as needed.
Reassemble P-Trap:
Once the P-trap is clean and free of debris, reassemble it by reconnecting the slip nuts to the tailpiece and waste pipe. Tighten the slip nuts securely to prevent leaks.
Turn On Water Supply:
Once the P-trap is securely reattached, turn the water supply back on and check for any leaks. Tighten the slip nuts further if necessary to ensure a watertight seal.
Test Drain:
Test the kitchen sink drain by running water down the drain to ensure proper drainage and no leaks.
Identification of Common Debris and Buildup:
- Food Particles: Food scraps, grease, and oil are common culprits that can accumulate in the P-trap and cause clogs.
- Soap Scum: Soap residue can build up on the walls of the P-trap over time, reducing water flow and contributing to unpleasant odors.
- Mineral Deposits: Hard water minerals can also accumulate in the P-trap, leading to blockages and reduced water flow.
8. Enzyme Drain Cleaners
Enzyme drain cleaners offer a natural and environmentally friendly solution for clearing clogs and maintaining a clean kitchen sink drain. Here’s what you need to know about enzyme drain cleaners:
Instructions for Proper Application and Dosage:
- Follow the manufacturer’s instructions carefully when using enzyme drain cleaners. Typically, you’ll need to pour the recommended amount of cleaner down the drain and allow it to sit for a specified period to allow the enzymes to work.
- Enzyme drain cleaners are most effective when used regularly as part of a preventative maintenance routine. Consider using them once a month to keep your kitchen sink drain clean and odor-free.
- Avoid using enzyme drain cleaners in conjunction with other cleaning products, as this can interfere with their effectiveness. Additionally, be patient, as enzyme cleaners may take longer to work compared to chemical cleaners, but they provide a safer and more sustainable solution in the long run.
9. Hot Water and Salt Flush
Hot water combined with salt can be a potent solution for breaking down grease and organic matter in your kitchen sink drain. Here’s how to perform a hot water and salt flush effectively:
Description:
Salt acts as a natural abrasive, while hot water helps to dissolve grease and organic residues, making them easier to flush away.
Instructions:
- Boil Water: Start by bringing a pot of water to a rolling boil on the stove. Ensure you have enough hot water to fill your sink or a large bucket.
- Add Salt: Once the water reaches a boil, add a generous amount of table salt to the pot. Stir the salt into the water until it dissolves completely.
- Pour Down Drain: Carefully pour the hot water and salt mixture down the kitchen sink drain. The hot water will help to loosen and dissolve any grease or organic matter clinging to the walls of the pipes, while the salt will provide additional cleaning power.
- Let It Sit: Allow the hot water and salt solution to sit in the drain for at least 15-30 minutes to allow it to work its magic. During this time, the mixture will continue to break down stubborn deposits.
- Flush with Cold Water: After the designated time has passed, flush the drain with cold water to rinse away any loosened debris and residue. This will help to ensure that the drain is thoroughly cleaned and free of buildup.
Precautions:
- Avoid Overuse: While hot water and salt can be effective for occasional maintenance, avoid using this method excessively, as it may damage certain types of pipes, particularly plastic or PVC pipes.
- Monitor for Damage: Keep an eye on the condition of your pipes after performing a hot water and salt flush. If you notice any signs of damage or deterioration, discontinue use immediately and seek professional assistance.
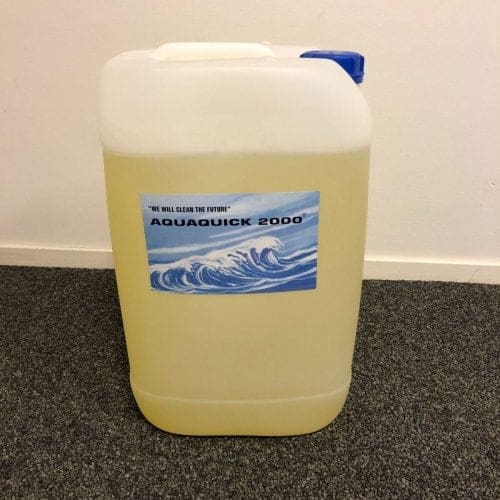
10. AQUAQUICK 2000
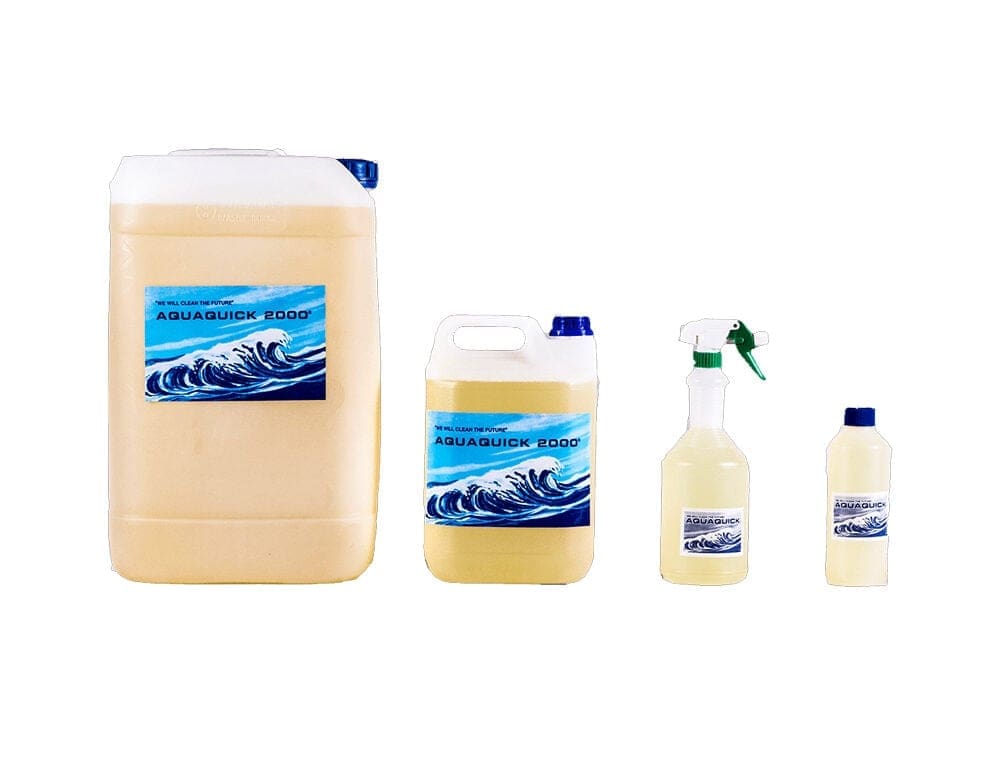
AQUAQUICK 2000 is an innovative solution designed specifically for cleaning kitchen sink drains. Here’s what you need to know about this effective option:
Introduction:
AQUAQUICK 2000 is a powerful drain cleaner that utilizes a unique formulation to break down grease, oil, and organic matter, leaving your drain clean and odor-free.
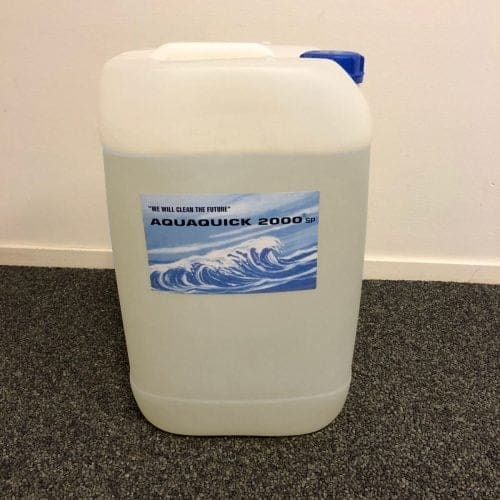
Explanation of Formulation:
AQUAQUICK 2000 contains a blend of enzymes and surfactants that work together to penetrate and dissolve stubborn deposits in your drain. The enzymes break down organic matter, while the surfactants help to emulsify grease and oil, allowing them to be easily rinsed away.
Instructions for Use:
To use AQUAQUICK 2000, simply pour the recommended amount of solution down the drain and allow it to work for the specified amount of time. For best results, follow the manufacturer’s instructions carefully and avoid mixing AQUAQUICK 2000 with other cleaning products.
Benefits:
- Environmental Safety: AQUAQUICK 2000 is environmentally friendly and biodegradable, making it a safe choice for both your plumbing system and the environment.
- Effectiveness: AQUAQUICK 2000 is highly effective at breaking down tough grease and organic matter, ensuring thorough cleaning and preventing future clogs.
- Ease of Use: Unlike traditional drain cleaners that contain harsh chemicals, AQUAQUICK 2000 is easy to use and requires no special precautions. Simply pour it down the drain and let it work its magic.
Regular Maintenance Practices
Regular maintenance is key to preventing drain clogs and keeping your kitchen sink drain clean and odor-free. Here are some tips for maintaining a healthy drain:
Tips for Maintenance:
- Daily Cleaning: After washing dishes or preparing meals, rinse your sink with hot water to flush away any leftover food particles and grease.
- Weekly Flushing: Once a week, perform a maintenance flush using one of the methods outlined in this guide, such as boiling water or a homemade drain cleaner.
- Monthly Inspection: Take a few minutes each month to inspect your drain for any signs of buildup or slow drainage. Address any issues promptly to prevent them from worsening.
Creating a Maintenance Schedule:
- Set Reminders: Use a calendar or smartphone app to set reminders for your regular drain maintenance tasks. This will help ensure that you stay on track and maintain a clean and healthy drain system.
Conclusion:
Maintaining a clean kitchen sink drain is essential for ensuring a hygienic and functional kitchen environment. By following the methods outlined in this guide, including the use of AQUAQUICK 2000 and implementing regular maintenance practices, you can keep your drain clean and odor-free, reducing the risk of clogs and plumbing issues. Remember to seek professional help if you encounter severe clogs or plumbing problems that cannot be resolved with DIY methods.